ULTRALIGHT HAMMOCK DIY
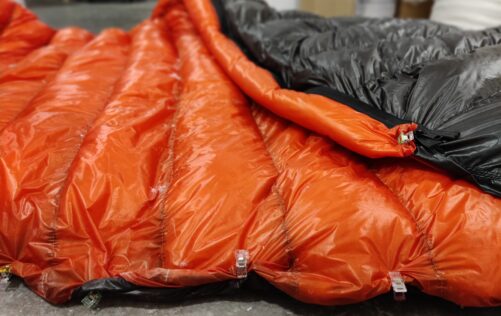
A hammock is a great gadget for all kind of trips. Whether it’s a family picnic or ultralight backpacking trip, the hammock is unrivalled.
Made of lightweight parachute fabric, it does not take up much space and weighs only 300g! If this is your first project, the hardest thing to sew this hammock will be threading the bobbin;)
What you will need to sew your hammock:
- sewing machine,
- pins,
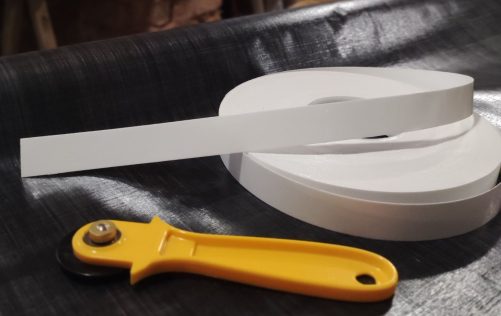
- ripstop nylon materials, approx 3m (150cm x 320cm),
- polyester threads,
- 4mm rope, around 0,5m + 14m for the suspension system
STEP 1.
Having already cut the material with dimensions of 150 × 320, we will start by finishing its edges. It is best to do it with an overlap, for me the overlap is about 2 cm. If you sew with a machine, it is best to use the presser foot.
PIC: Finishing nylon fabric for the hammock

STEP 2.
Now we will sew tunnels for the hanging system. We measure 4 cm from the end of the fabric (see photo) and fasten with pins. Then measure another 6 cm, bend it again and fix it with pins.

PIC: tunnel for fastening rope

STEP 3.
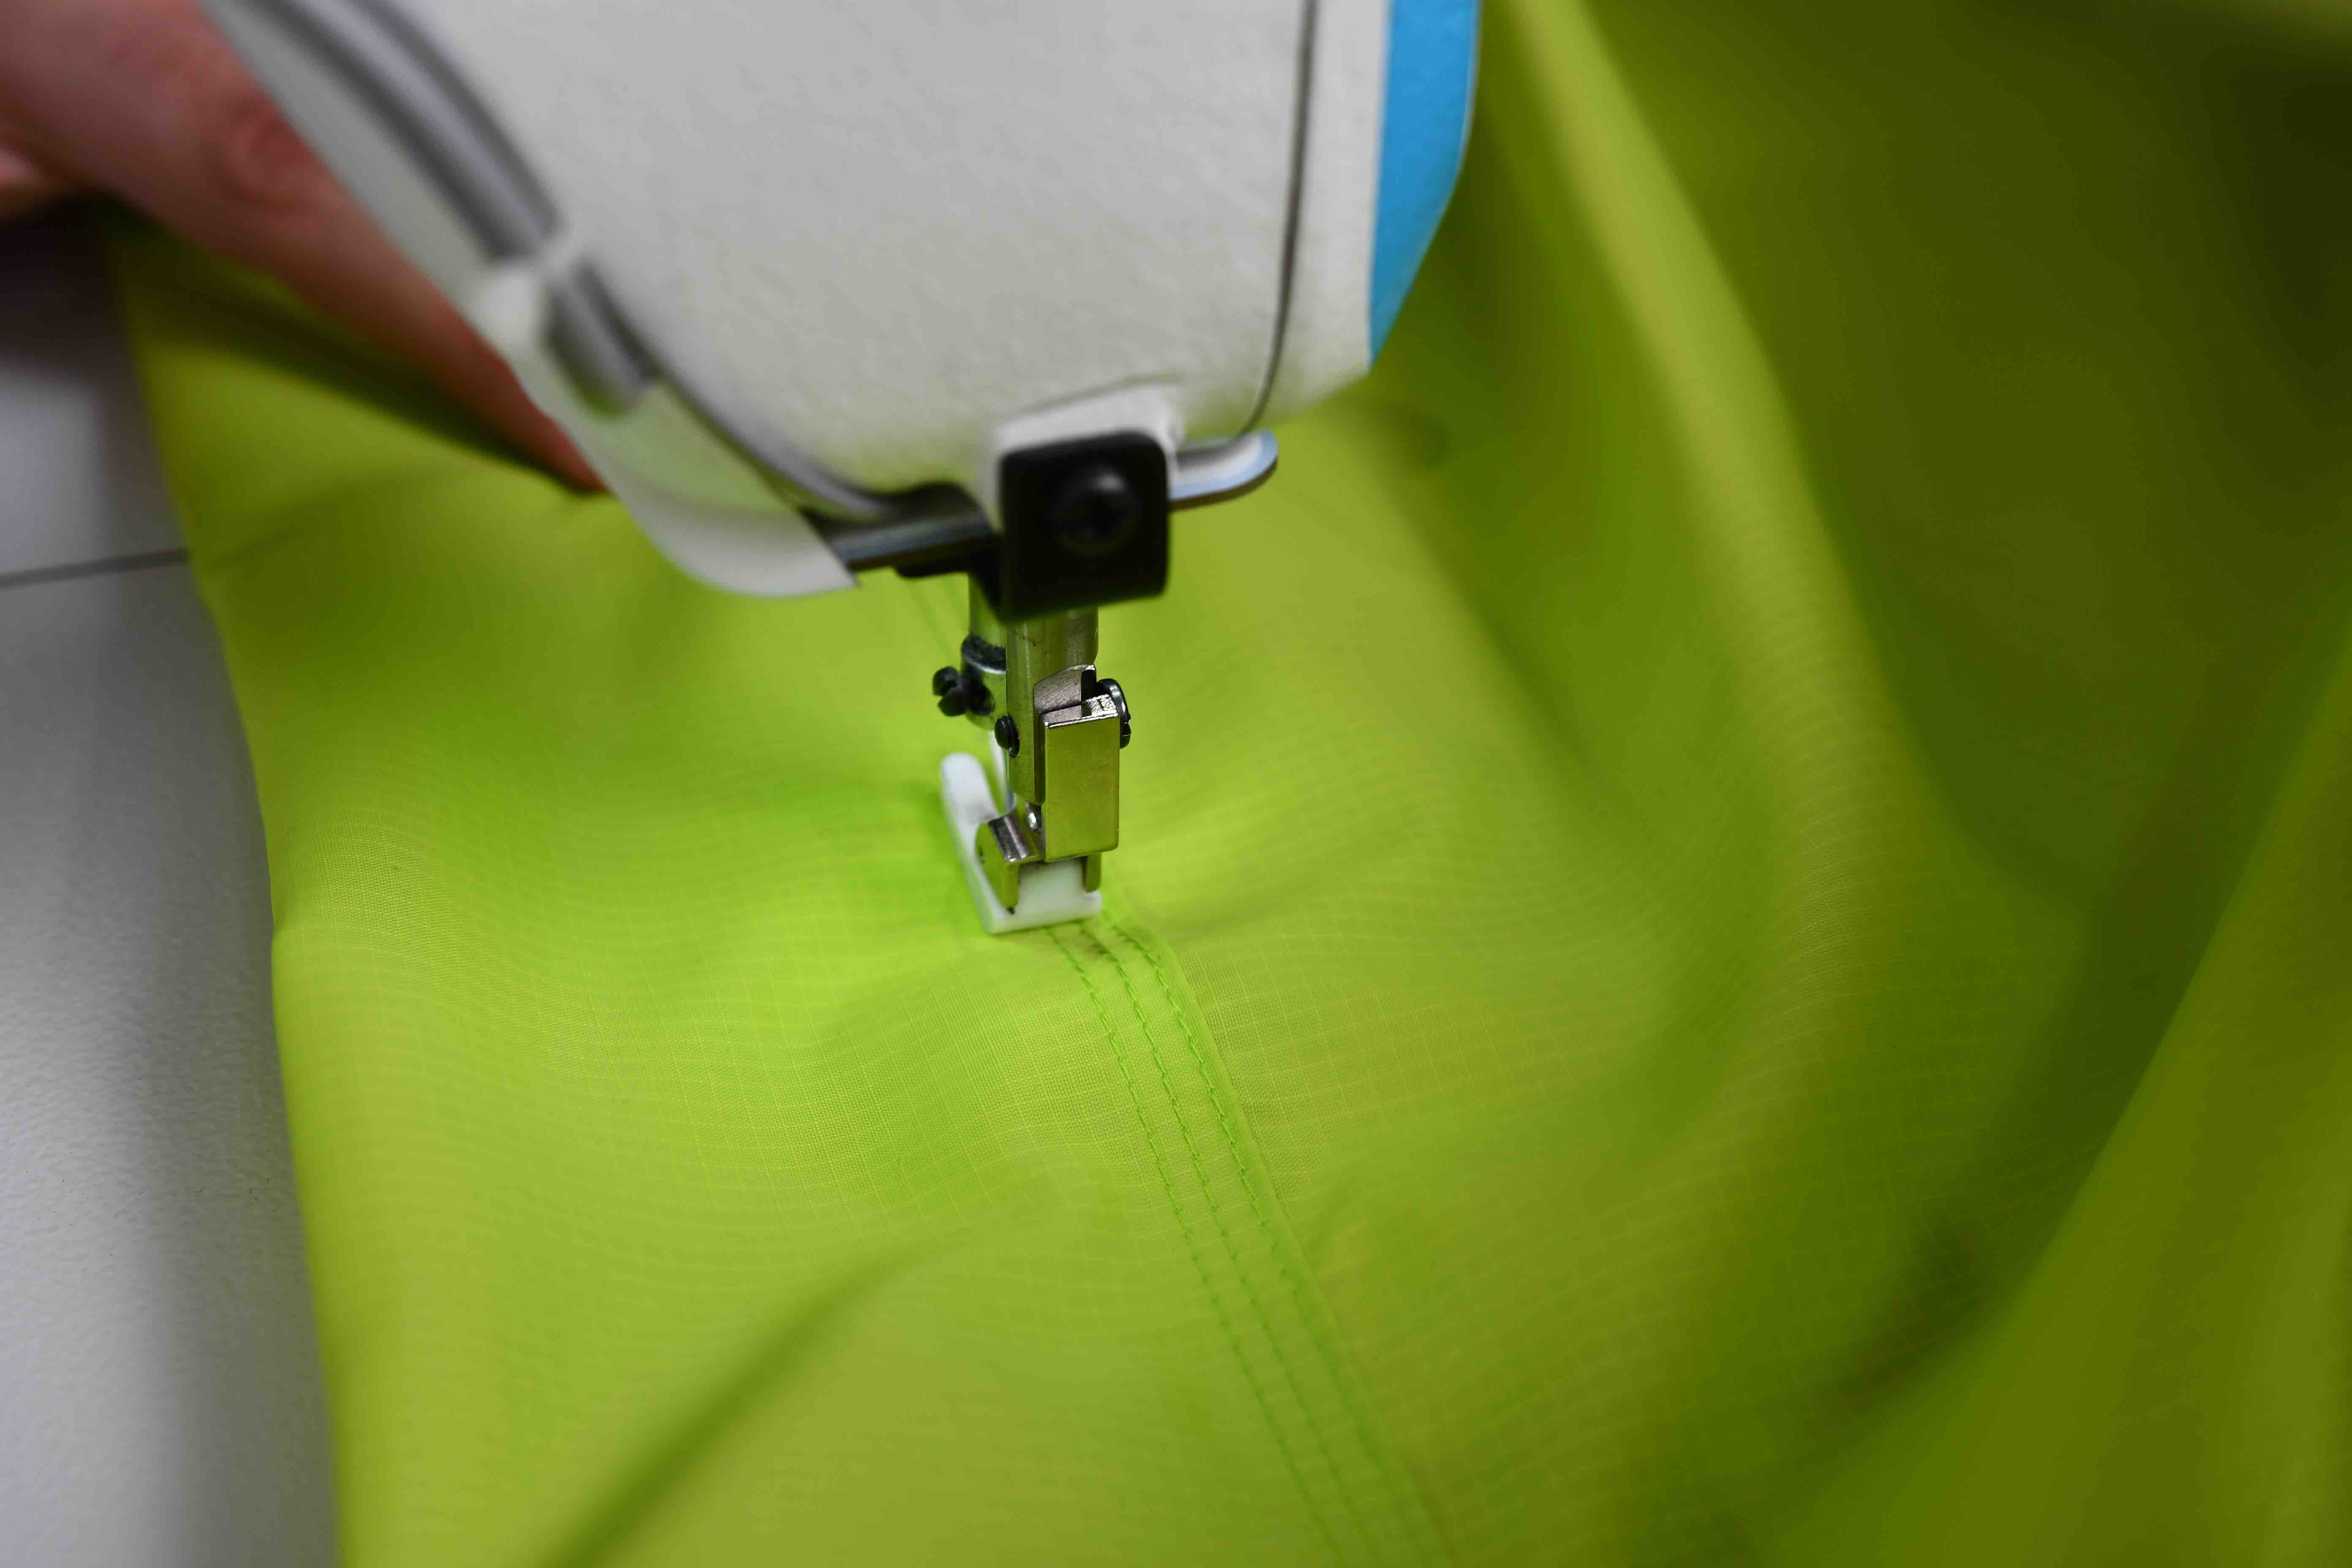
On the measured 4 cm piece, sew with a straight seam, 3 parallel rows at a distance of 5 mm. As a result, there should be a tunnel with a strong triple stitch. Other seam creates more holes and weakens the fabric.
Repeat the same procedure on the other end of the fabric.
PIC: The triple-seam on ripstop nylon.
STEP 5.
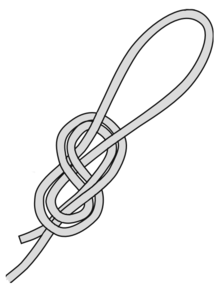
We measure out two lengths of rope. We make loops of each piece with an eight-point knot at the end. Leave the ends at least 6 cm long. This is the safest end to the rope.
Pull the loops through the tunnel and thread the end with the knot through the eyelet on the other side.
READY! Have a nice nap under the stars:)
For such a hammock, we also need suspension systems. Our proposal is two carabiners and a 7m rope for each side. Fold a rope in half and make knots every 10cm
About
Articles are written by Aleksandra and Maciej. Sometimes when the subject is beyond their knowledge, they are seeking for professionals who help them out. If you want to learn more about us…read here