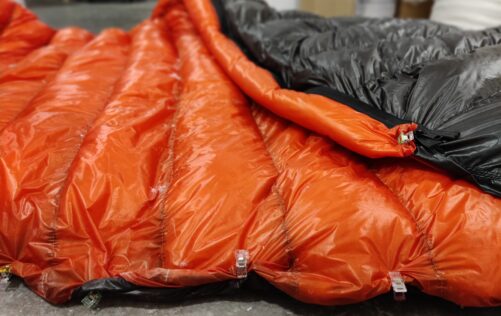
We present to you our new, and probably the most ambitious project we have taken on so far – the DOWN SLEEPING BAG WITH COMPARTMENTS. It is also a unique project that will initiate a series of many new tutorials and products that you have been asking us about. Unique because Svetlana, a talented seamstress from Ukraine, has joined us. Our instructions will finally not only be a series of amateur ideas but also the advice of a true professional.
A sleeping bag with compartments is a challenge that requires quite a lot of time and patience, mainly due to the intricate network of channels for the down. However, once you have finished sewing the mesh walls, stuffing the down and watching your project gain a third dimension is pure joy. You will feel like a real Geppetto;)
The project is based on the Marko MM tutorial, which is worth checking out to support you in the next stages.
Materials needed:
- 5m of downproof fabric – we chose breathable and ultralight Ribstop nylon 10D – 2.5m for the outer layer and 2.5m for the inner layer
- Nylon mesh for mosquito nets, at a height of 7 cm for each compartment wall, a piece of mesh with dimensions of approximately 150×7 cm is needed for each wall, we created 14 compartments/15 walls and used approximately 1.5m of mesh.
- 700 cuin goose down, 700g (in the case of designing other compartments, this should be calculated taking into account their dimensions)
- Separating zipper #5, 170 cm YKK
- Two double-sided sliders #5
- 3mm elastic cord, approximately 1.5m
- Double stoppers matched to the elastic cord
- 2 spools of Talia thread
- Masking tape (makes work easier)
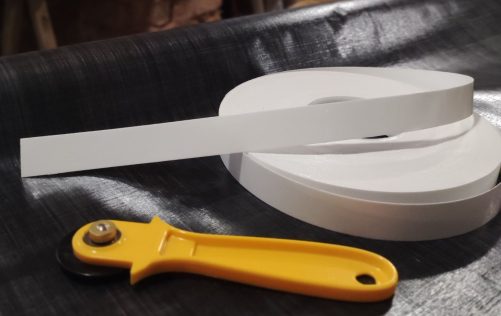
- Scissors or a rotary cutter for materials
- Clips or pins to fasten the down-filled fabric
- Level or long ruler
- PVC pipe with a diameter of 10cm
EXTRA TIME
Before sewing, we also recommend familiarizing yourself with a similar project How to sew a topquilt with compartments, as well as the article Topquilt or down sleeping bag.
STEP 1: Cutting the material
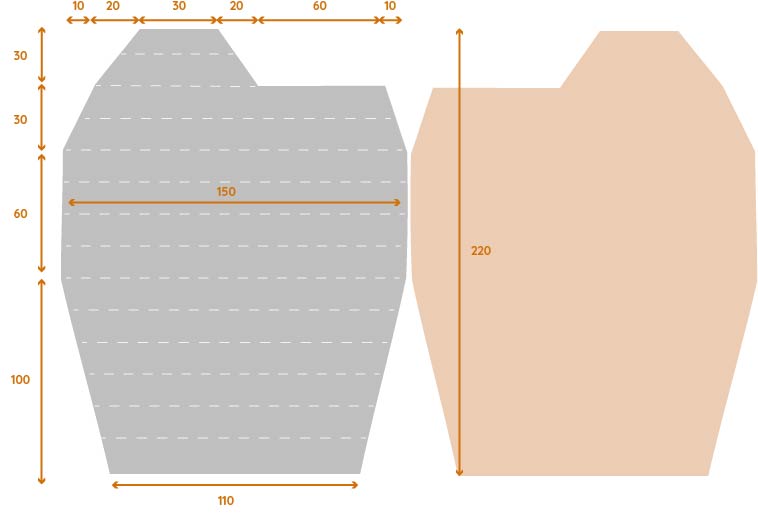
Main compartment: we start by cutting the shape of the sleeping bag. We cut two equal pieces with a length of 2.20m. Then we lay the first piece on a flat surface. We tape the ends with masking tape, apply our second piece and tape it in the same places. This procedure will make it easier to cut both layers at the same time into the shape of a mummy. The cutting method is shown in the drawing below.

- Zipper cover: additionally, we cut out a strip of 14x190cm, from which we will later make a down-filled tunnel to cover the zipper.
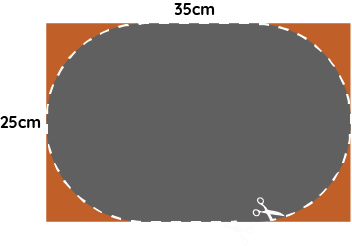
- Footbox: due to the flexibility of the design, it doesn’t have to be too big. In this project, it is 2x (35 cm x 25 cm).
- Drawstring tunnel at the hood: it should be 6-7 cm wide. Simply fold it once and sew along one side.
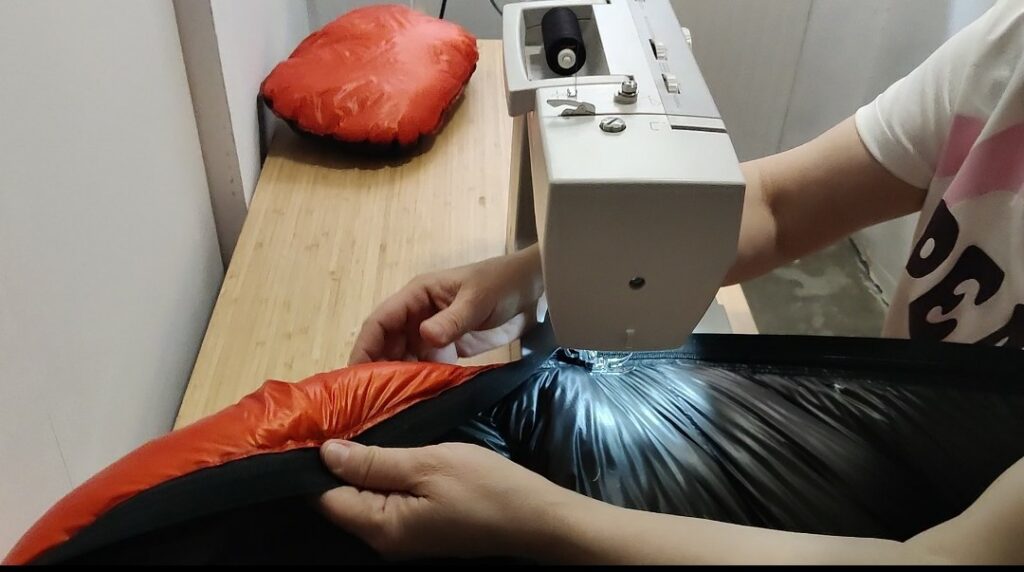
STEP 2: Finishing the material and attaching the zipper cover. We sew the material to prevent fraying. We fold the edges twice and sew them with a straight stitch. At this point, we also attach an additional strip of material to the puffy tunnel covering the zipper. Below is a photo of the cover already filled with down:
After finishing, we also sew on the cord strap. Similar to the cover, we fold the ends and sew them with a straight stitch. We attach it at the top of the sleeping bag and close the top.
STEP 3: Drawing the compartments. We draw parallel lines every 15 cm – the places where we will sew the walls of our compartments. It is best to measure the points on both ends of the material and connect them with a line – we used a long strip for this. We repeat the same process on the second layer of material. The last compartment will be slightly wider, about 20 cm.
STEP 4: Cutting the mesh for the compartments. Now we cut the mesh into appropriately wide strips. In this case, they were strips with a width of 6 cm, which allow for a wall of about 4 cm for each compartment. It is best to unfold the mesh, mark the appropriate distances on the sides, and cut them individually while using a ruler.
STEP 5: Attaching the material and mesh – we sew! We sew each strip onto the previously drawn lines on the material, so that about 1 cm comes out beyond the line. We recommend rolling up the material to make sewing easier.


When all the transverse strips are sewn on, we sew on the vertical strip, on the side where there will be no zipper. This is the most time-consuming stage. Then we proceed to join our layers. We grab the first mesh, attach it to material layer number 2 (which currently only has drawn lines), so that the mesh again protrudes about 1 cm beyond the line. We sew on all the compartments, gradually unrolling the rolls of material.
STEP 6: Preparing the footbox. We take one of our previously cut rectangles: 35 cm x 25 cm. We put an object with a round shape on the edges and trace around it, so that the resulting shape looks like in the picture. We cut it out and attach it to the second rectangle to trace the same shape.
Then we sew both pieces of material together to the width of the foot, leaving a part without a seam for stuffing with down, and turn it inside out.
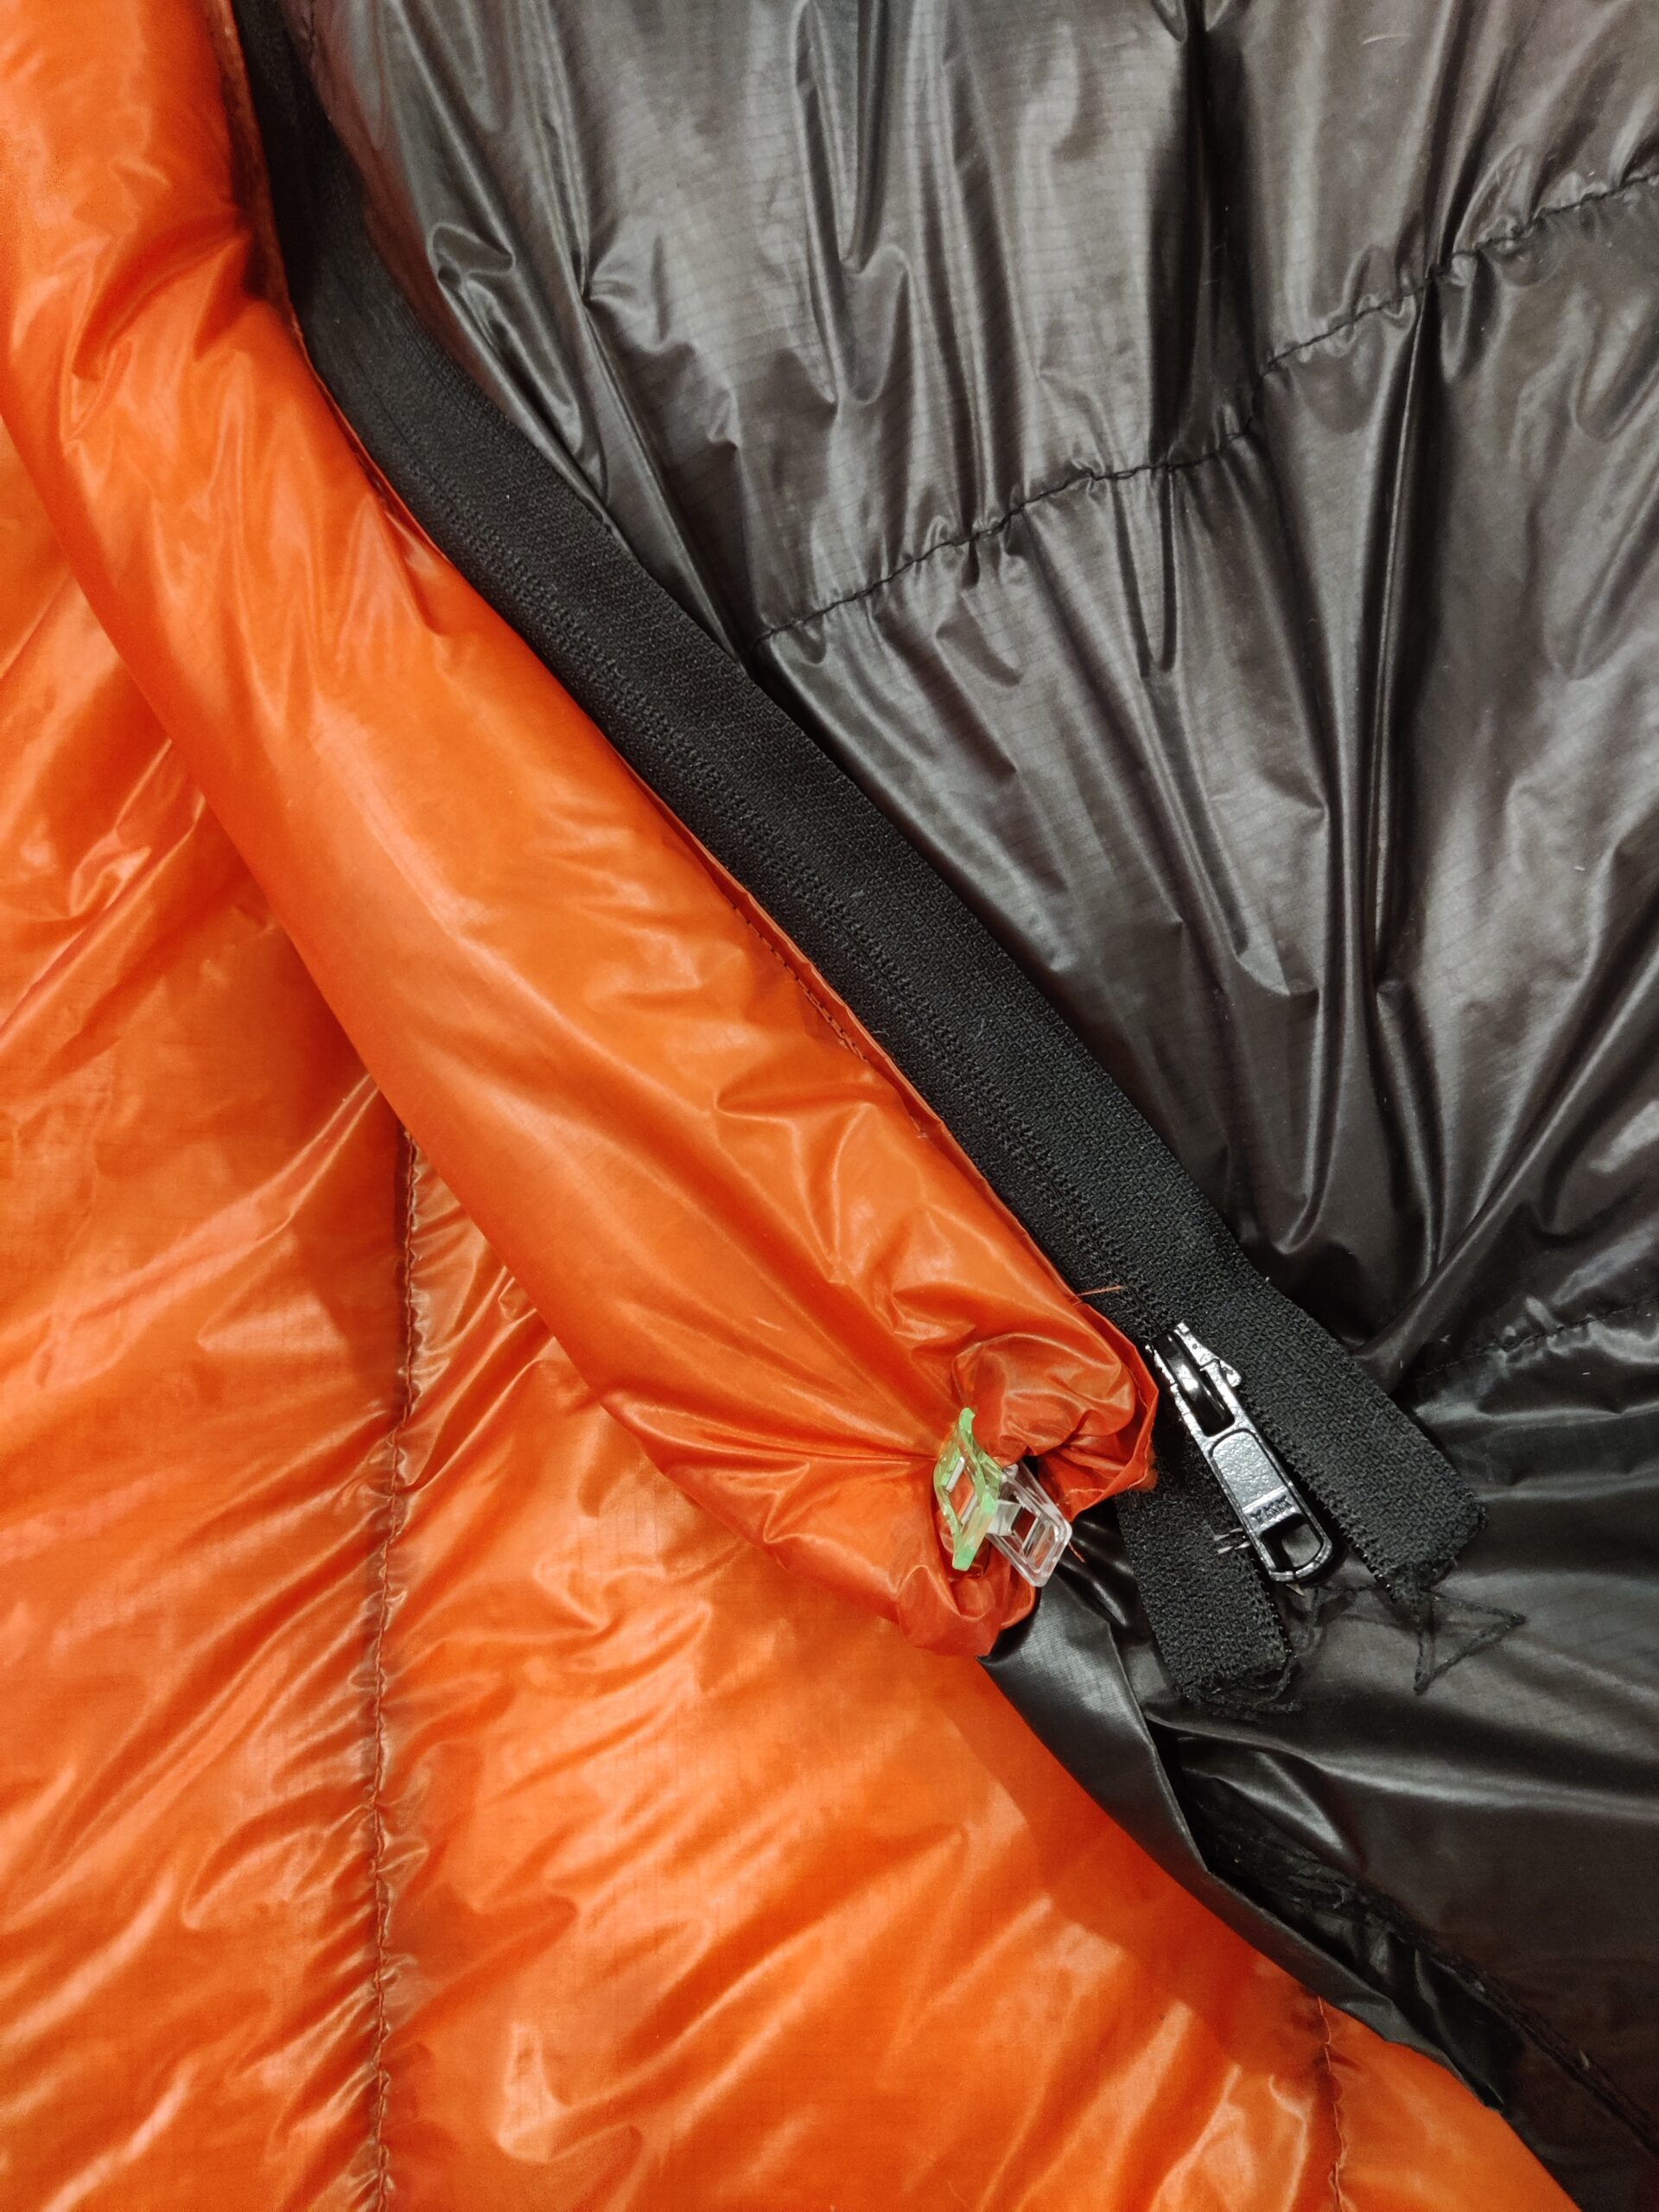
STEP 7: Attaching the zipper. First, we prepare a triangle-shaped “garage” for the zipper, which will pass between the end of the zipper and the footbox. We attach the triangle one-third of the way to where the end of the zipper will be, and two-thirds to the outer fabric on the footbox side. We sew it with a double straight stitch. The next element is sewing in the zipper, sewing the sleeping bag material and triangle at the same time. At this stage, we only sew one side of the zipper because we have to leave the other side open to stuff the compartments. We make at least two lines of stitching. NOTE! Do not separate the zipper, otherwise it will be difficult to match the lengths of each side of the zipper in the next step.
STEP 8: The Best! Stuffing with down
At this point, a kitchen scale (with an accuracy of 1g) will come in handy, as well as a PVC tube and some kind of “stuffer,” such as a dowel. Here is a helpful instruction on how to sew down products. Laundry string and clips will also be helpful to hang the quilt and temporarily close the filled compartments. After filling all the compartments, close them with clips/pins. Similarly, we stuff the foot box and close it with pins/clips.

STEP 9: Sewing the second side of the zipper and closing the compartments
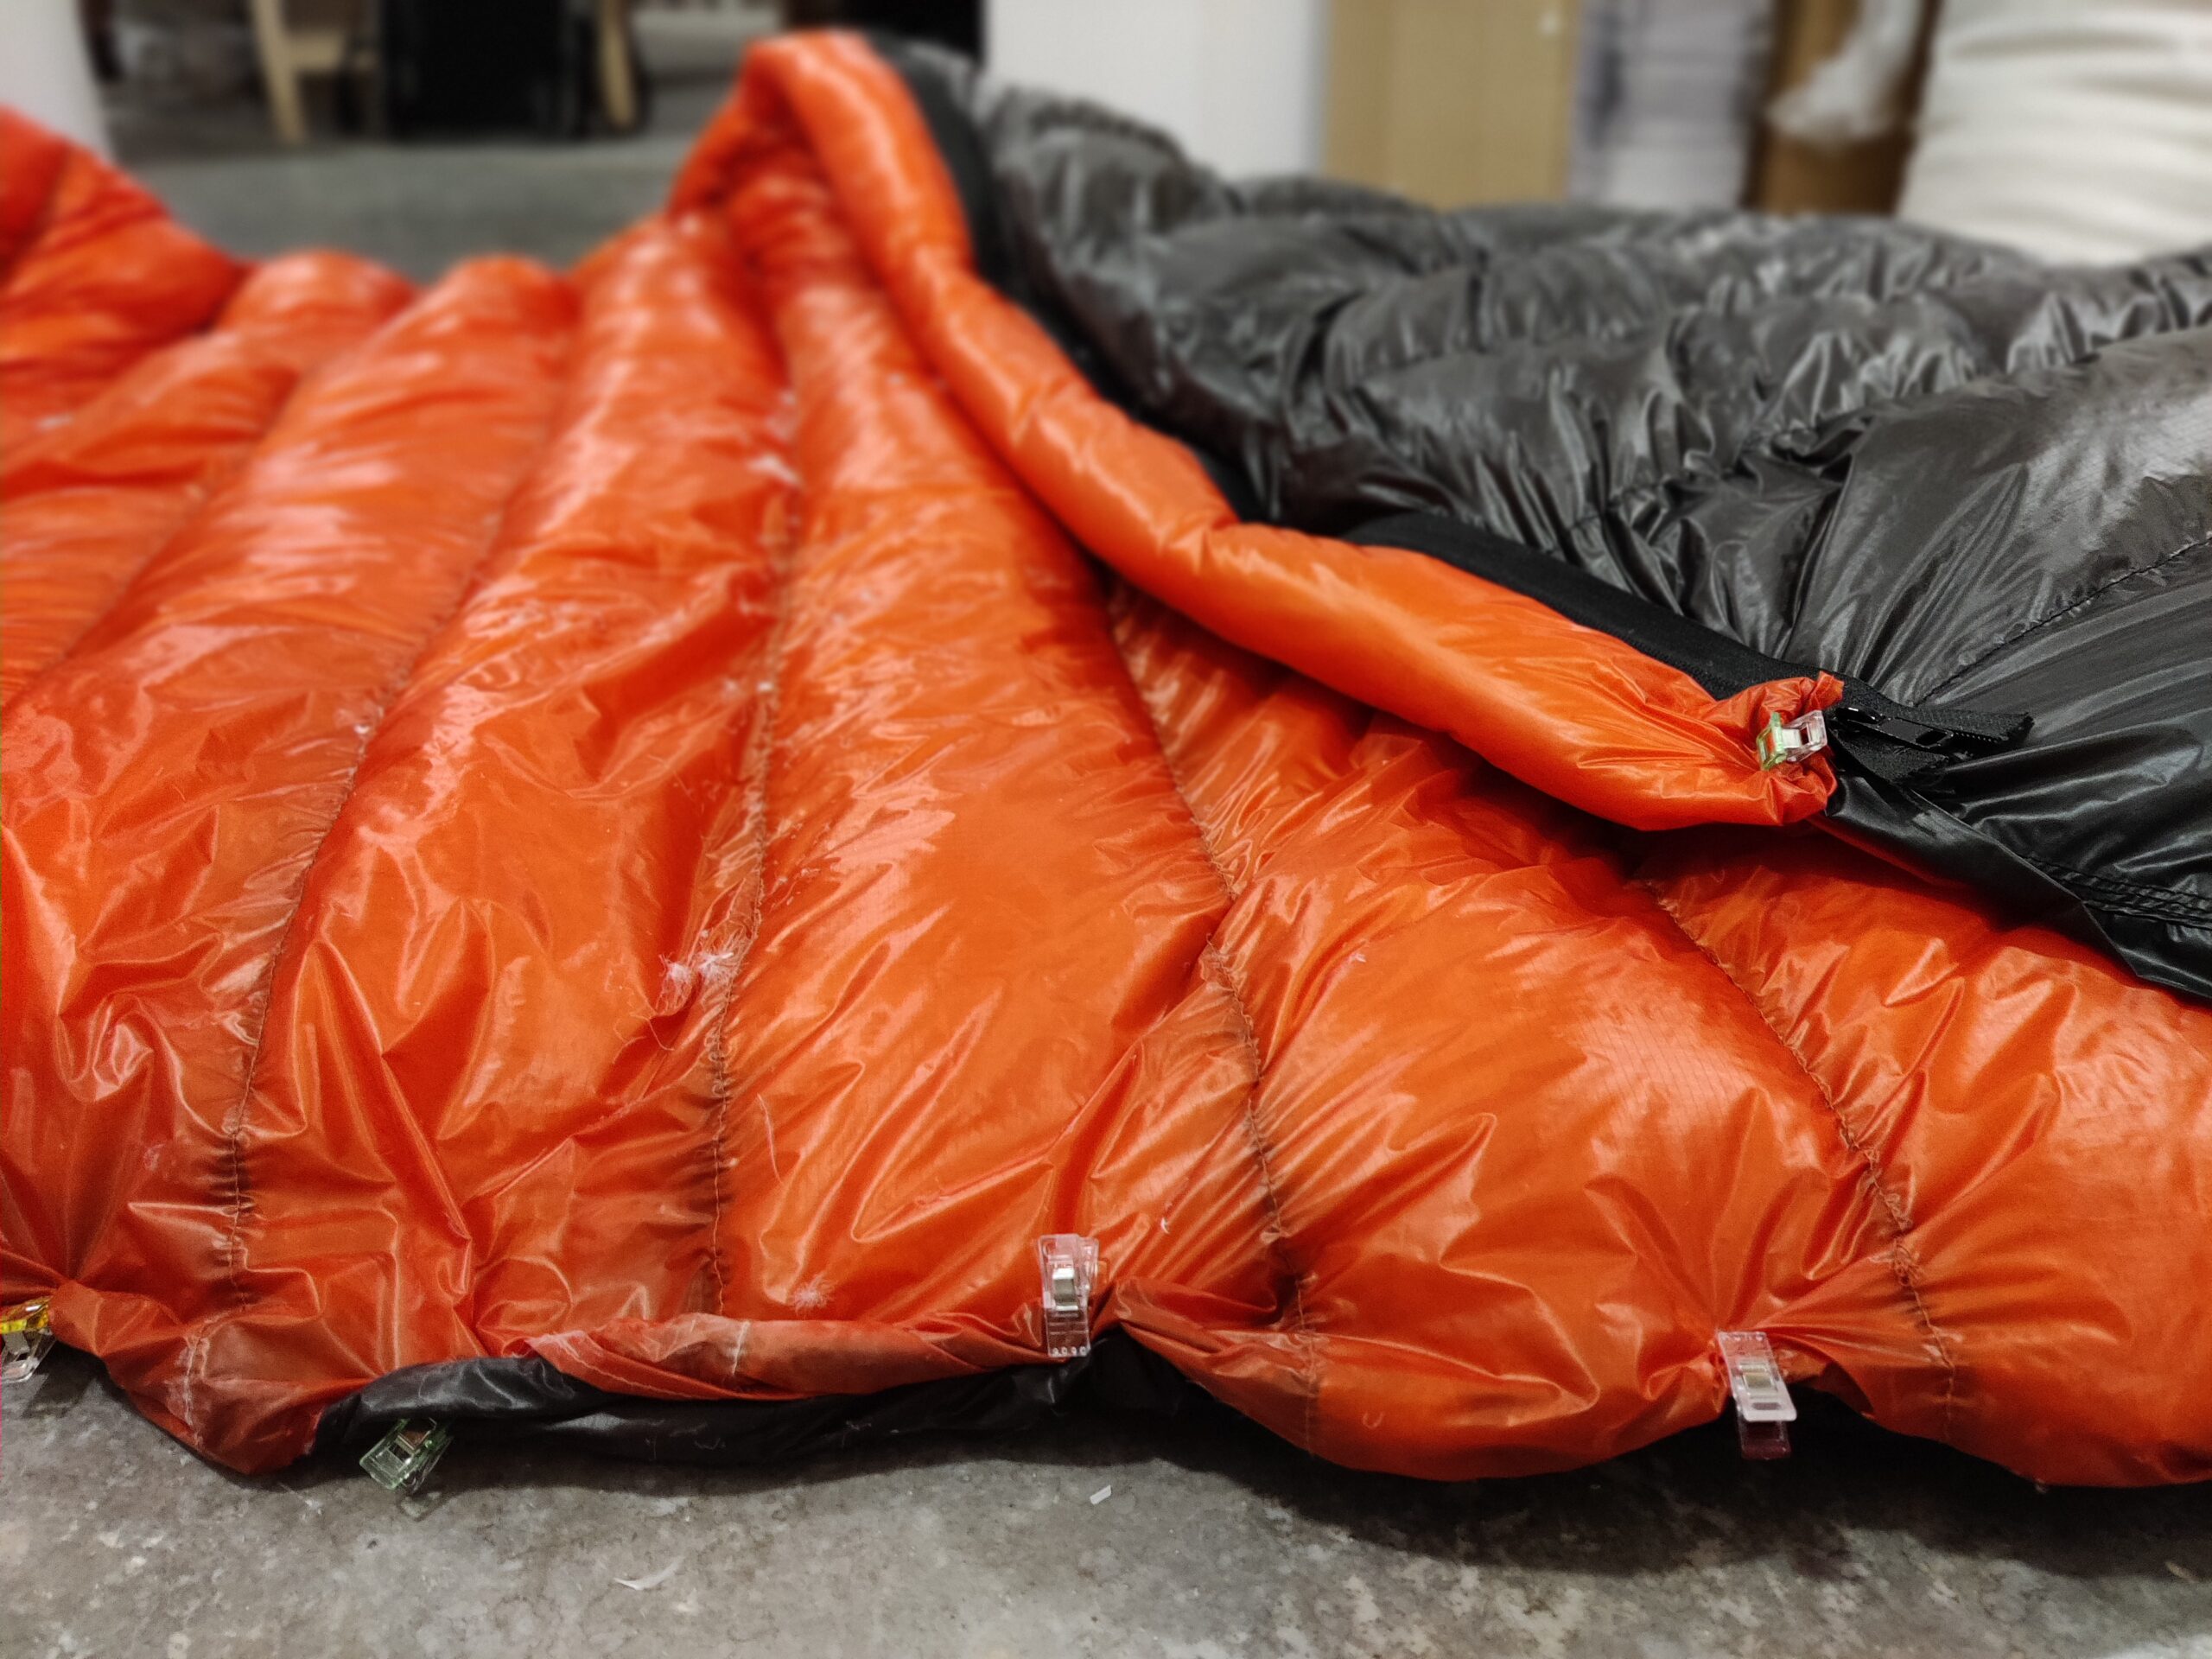
Shake the down so that it moves towards the sewn end. Gradually remove the pins and insert the second side of the zipper, again attaching it with pins to prevent the down from escaping. Finally, sew with a straight stitch over the entire length. Open the zipper and add the sliders.
We can sew or clip the separate ends of the zipper with a special clamp.
STEP 10: Sewing the bottom of the sleeping bag
When the escape of down is no longer possible, we sew the foot box to the end. Pin it to the base of the sleeping bag from the inside and sew with a straight stitch. At first, it may seem that the foot box is too small, but as you join the elements, everything starts to fit 🙂
STEP 11: Threading the elastic cord
Thread the elastic cord through our tunnel around the hood and pass it through the stoppers. To make the task easier, it is best to use a wire or even a pen 😉
Now you can start testing your comfort zone. We are curious about your opinions and down effects 😉
About

Articles are written by Aleksandra and Maciej. Sometimes when the subject is beyond their knowledge, they are seeking for professionals who help them out. If you want to learn more about us…read here